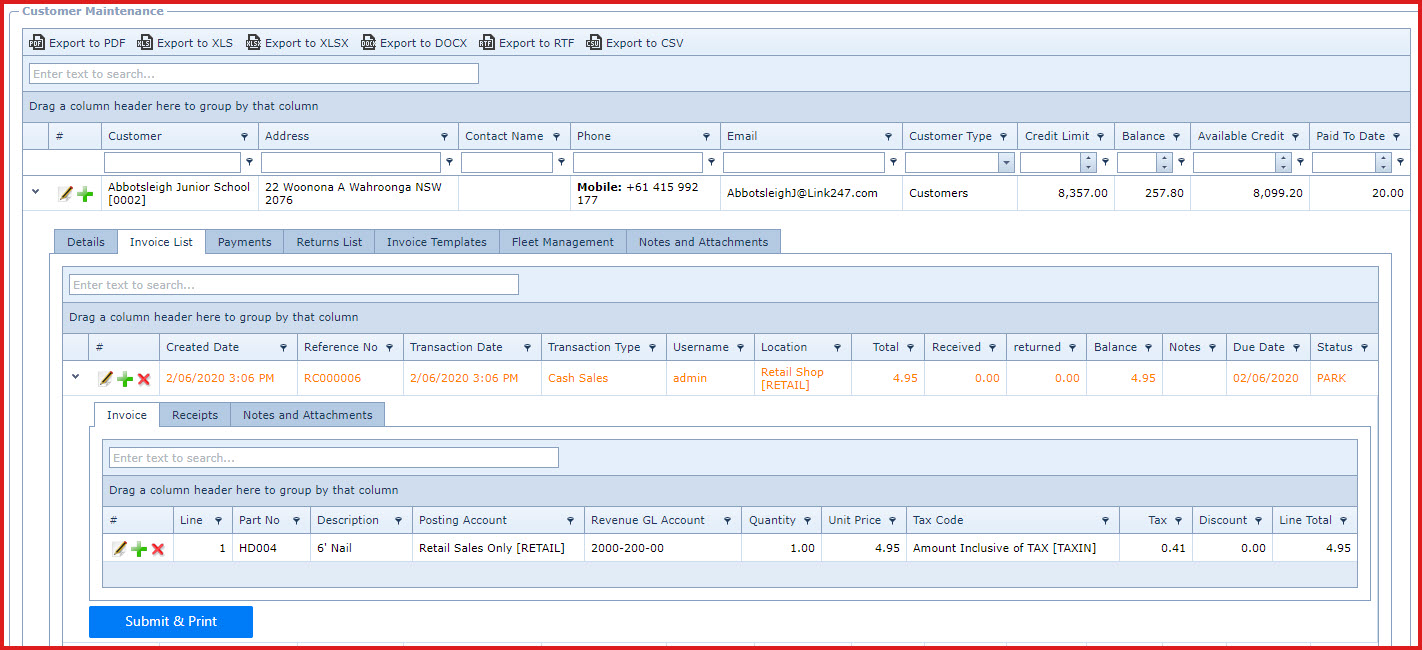
Invoice List contains all
sales invoices for a customer.
- Sales invoices from LinkPOS is updated in
the "Invoice List" with status as "PRSD" (Processed)
- Users can add a new invoice in the Invoice List.
This invoice with will signed for "Tax
Monitoring System " if the
SDC integration is enabled.
Steps to setup create invoices :
-
Select the
customer and expand
into the details.
-
Go to the
"Invoice List" tab:
-
Click on
"Green Plus Sign". This will open the edit form.
-
Enter below details
-
Reference No - The "Reference Number" is system
generated.
-
Location - Select the location or
warehouse.
-
Transaction Date - Enter the invoice date
-
Transaction Type - Select the transaction type.
These includes:
-
Cash Sale
-
Credit Sale
-
Lay- By
-
Quotation
-
Due Date - Enter the date the payment is due for the
invoice.
-
Notes - This is an open text field. Users can enter
desired content.
-
Save. Click on the Floppy Icon. This will
create the transaction header with status as "Park". Refer to
Figure 1.
-
Click on the "Grey Arrow" next to
the transaction. This will load the details of the invoice.
-
Go to the "Invoice" tab
-
Click on "Green Plus Sign". This
will open the edit form.
-
Enter below details:
-
Part No - Select the product for the invoice.
-
Description -
The description of the product
is auto
updated.
-
Tax Code - Select the
sell tax
rate.
-
Posting Account - Select the general
ledger "Posting Account" for the invoice.
-
The general ledger account from the
posting account is used to integrate the invoice into ERP systems.
-
Posting accounts are maintained under "Linkweb
- Inventory - Posting Account"
-
Revenue GL Account - Select the "Revenue GL
Account" for the invoice.
-
Revenue GL Accounts list is
integrated from ERP systems
-
Quantity - Enter the sell quantity.
-
Unit Price - Enter the selling price.
-
Discount - Enter the discount amount. The
discount is entered as a dollar value. For
example,
-
Unit Price is $10.00
-
Discount is $2.00
-
New Selling price will $8.00
-
Save.
Click on the Floppy Icon.
-
Go to the "Receipts" tab - Enter any payment received for the invoice.
-
Click on "Green Plus Sign".
This
will open the edit form.
-
Enter below details
-
Payment Date - Select the
payment
date
-
Payment Type- Select the payment
method. Payment method is maintained
under "Link Point of Sale
-
Payment"
-
Description - Enter the payment
description.
-
Amount - Enter the payment
amount.
-
Save. Click on the Floppy Icon.
-
Click on the "Submit and Print" button.
-
This will save the
invoice and generate the receipt.
-
If TMS is enabled, data will
be transmitted for signing. System
will generate a "Fiscal invoice".
-
The status
of the invoice will be updated to "CLOD" (Closed).
Figure 1: Invoice
Header
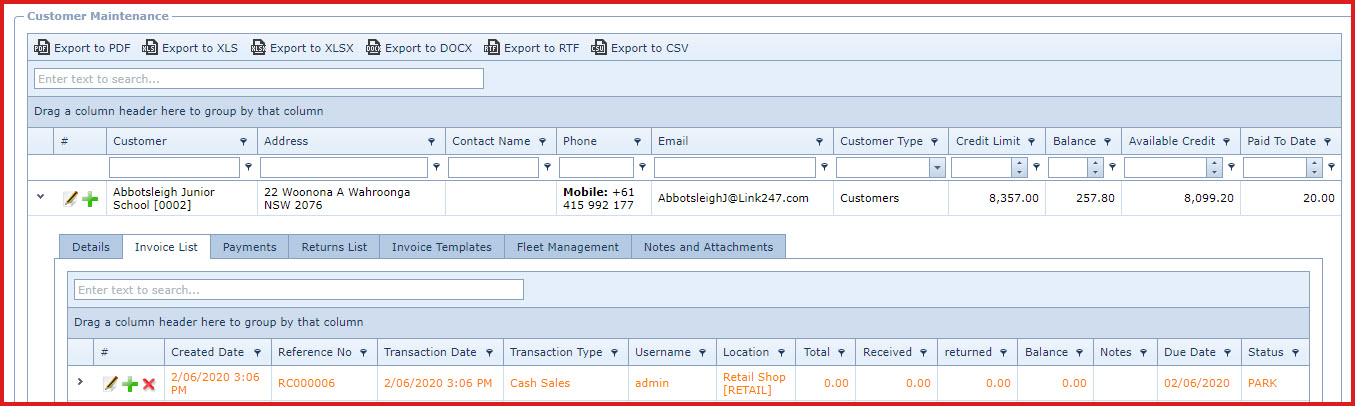
Figure 2: Invoice
Details