Transaction processing - fuel delivery sales
(excluding prepayments)
Below are the steps for performing fuel
delivery sale:
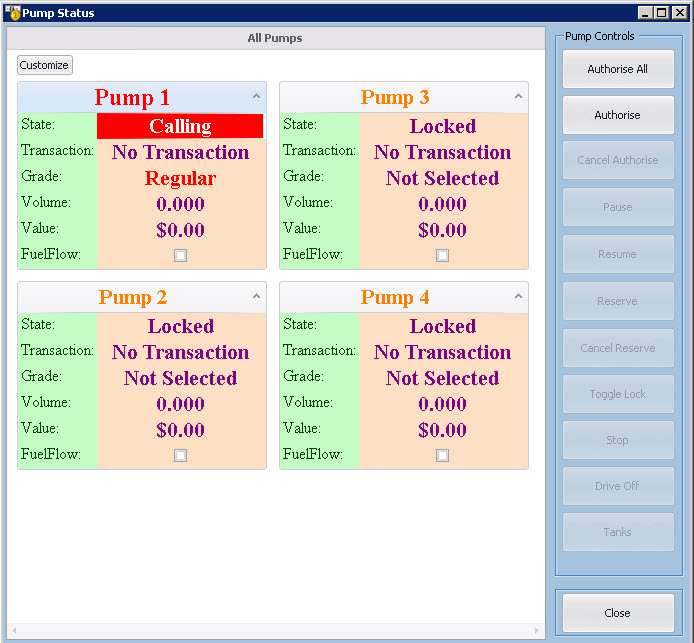
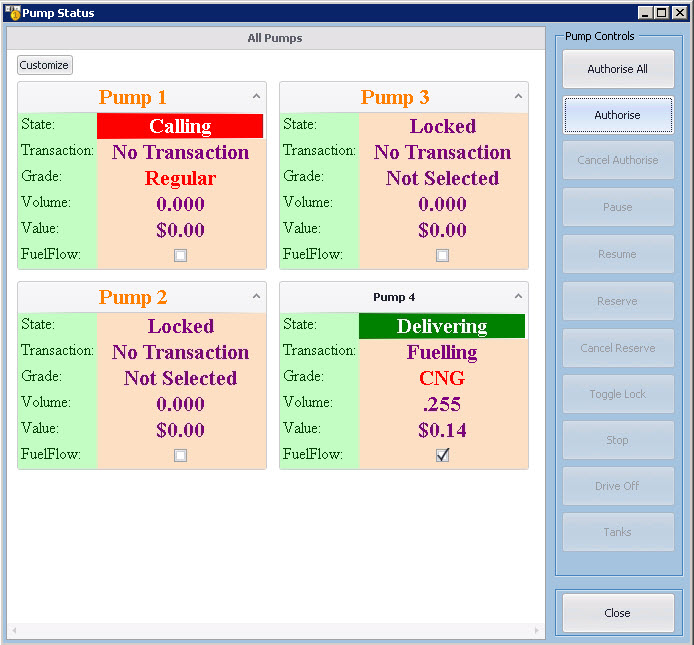
1. When pumps are lifted, the Enabler will show status as
Calling. This indicates that an authorization is required before fuel can be
released.
This this example pumps 1 and 4 are being used for sale.
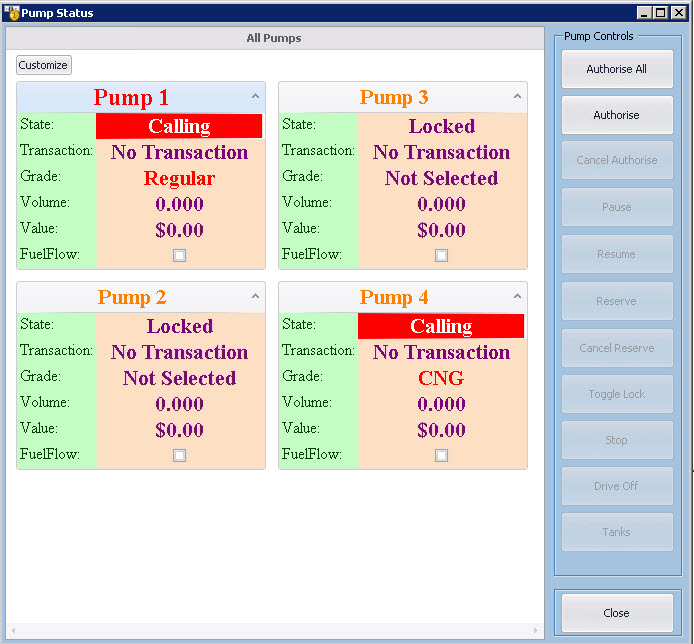
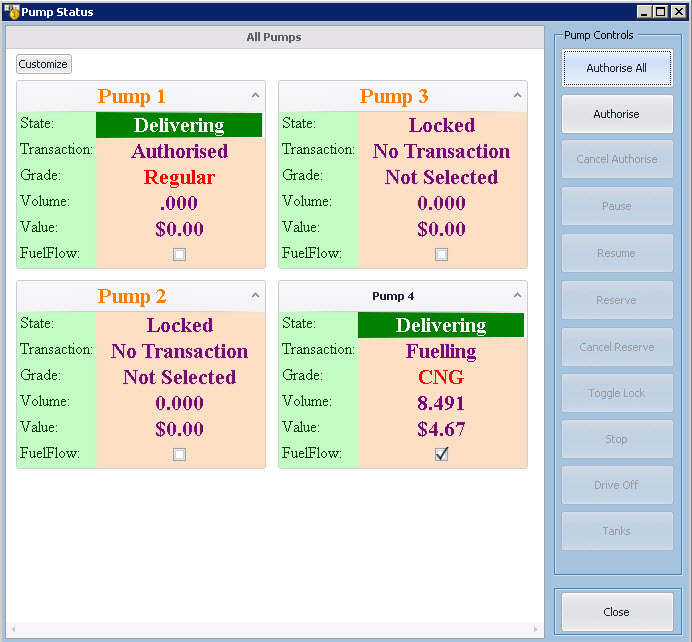
2. Select
pump 4 and click Authorize. Fuel is now delivering.
3. Clicking
Authorise All will authorise all pumps for delivering.
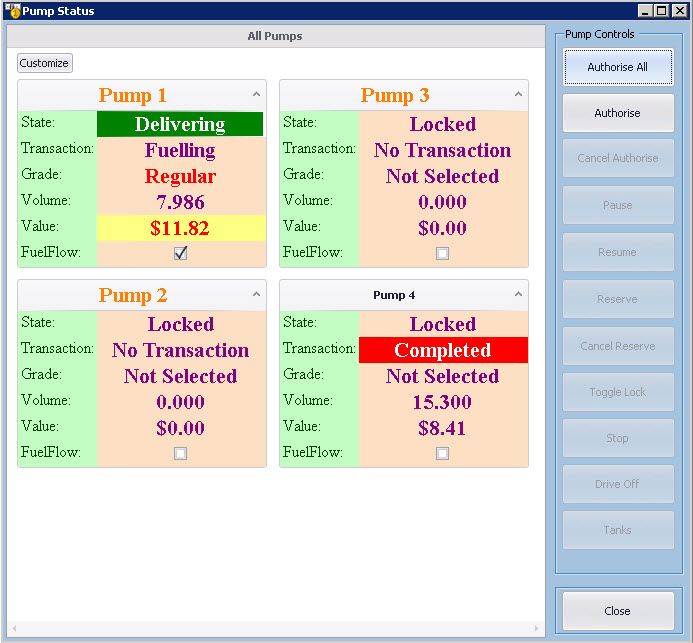
4. Pump 4 has
completed filling and placed the nozzle down.
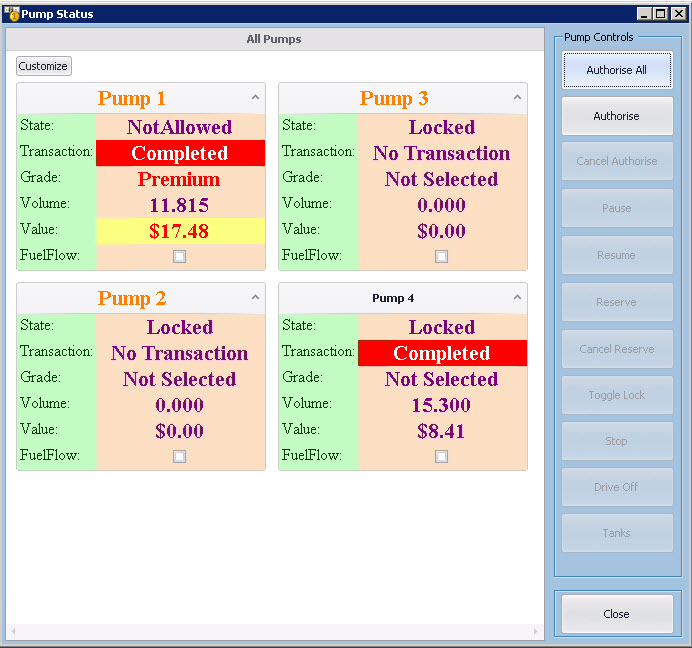
5. Pump 1 has
completed fuelling and placed the nozzle down. Picking up the nozzle on pump 1
again will display a message "Not Allowed" on the Enabler status.
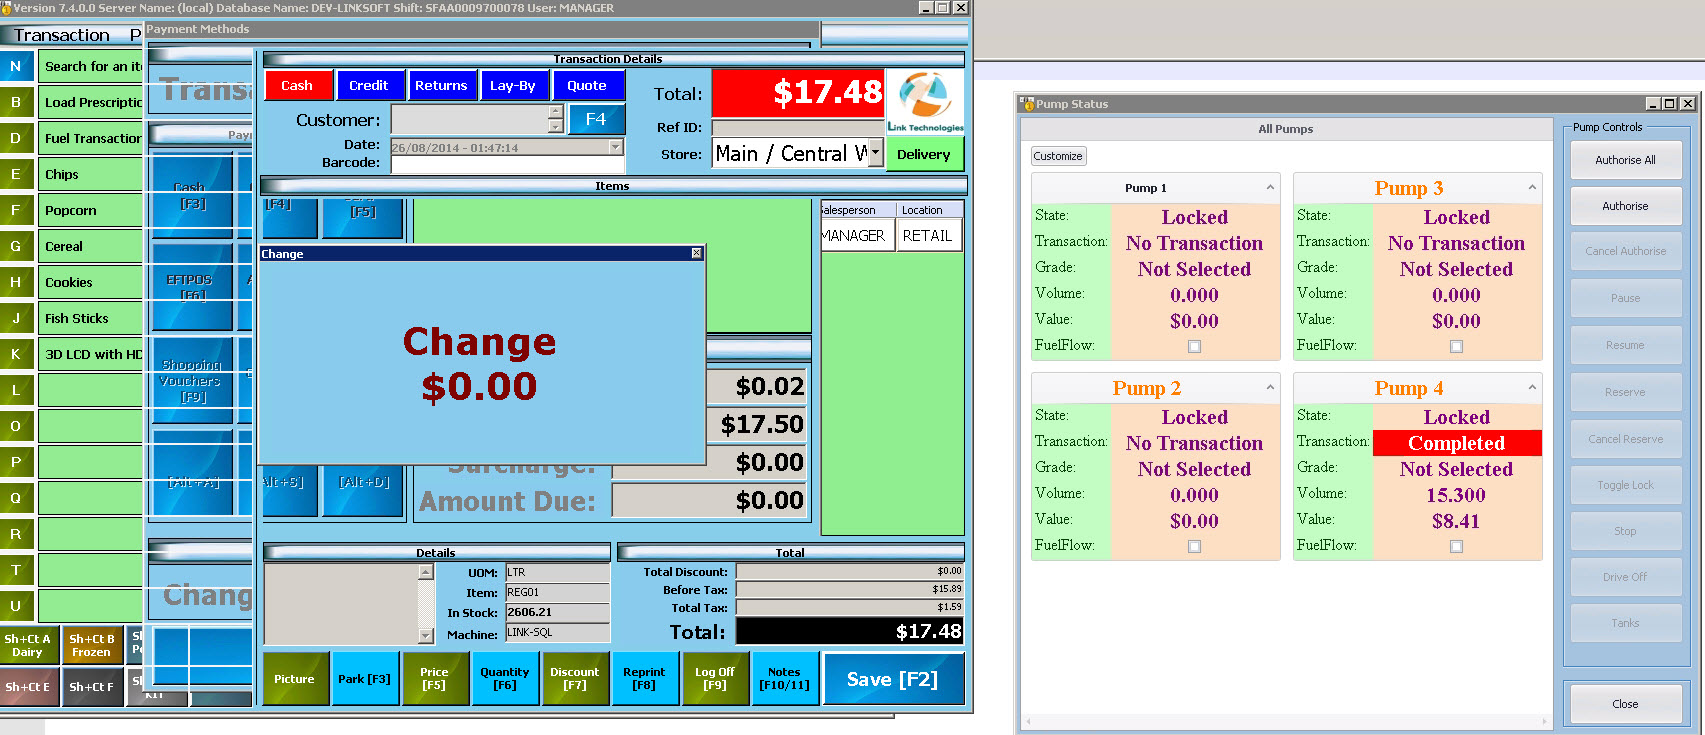
6. Click
Load Fuel Transactions. This screen will display all the transactions
available for sale.
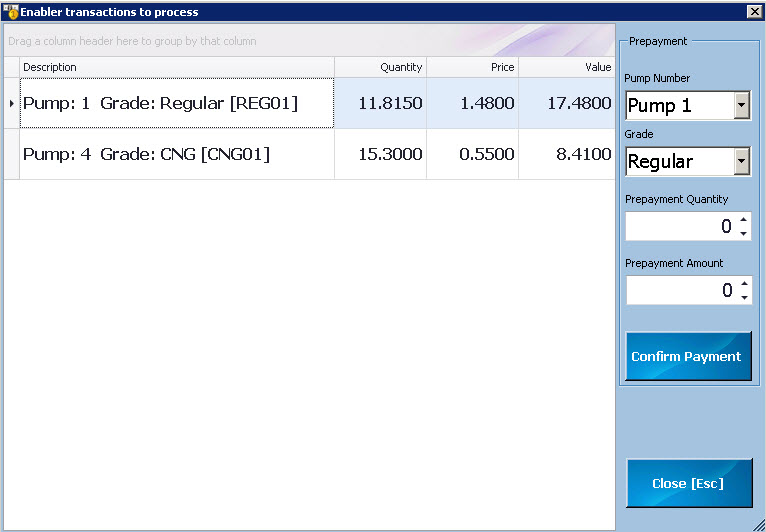
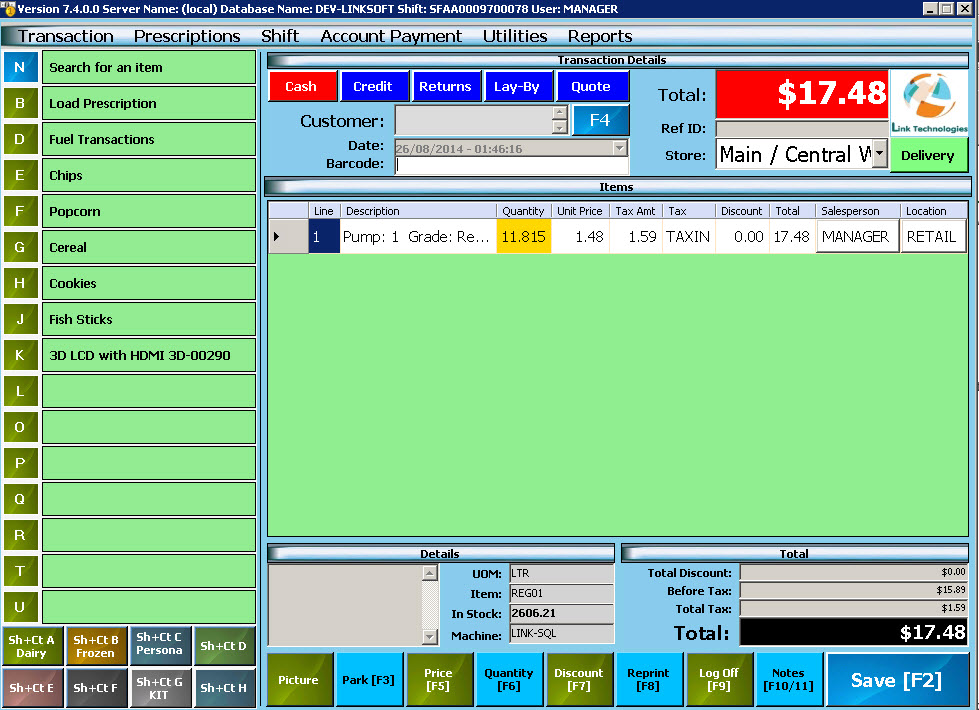
7. Load pump 1
transaction. This will load the item on POS. You can do normal sale using
standard processing.
8. Once the sale
is completed, pump 1 is cleared and ready for next sale.