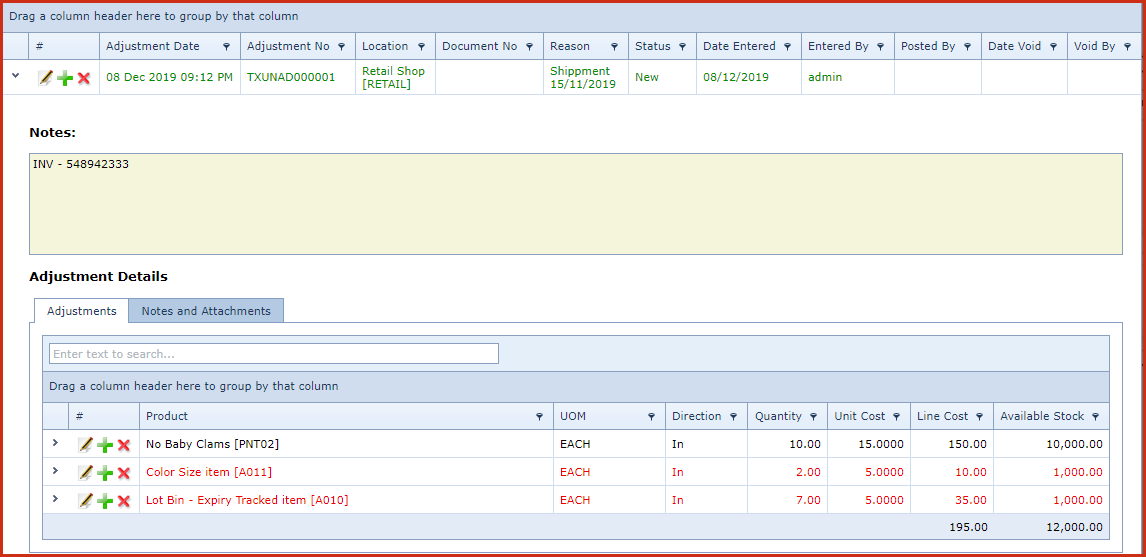
When you need to add new inventory with an initial value or make adjustments to on hand inventory levels, you use the Stock Adjustment transaction option. Regardless of the type of transaction that you perform, the application assigns issue numbers to each adjustment performed. This lets you track changes to determine when and why adjustments were made.
Stock Adjustment is used to created and maintain inventory adjustments. Inventory adjustment is used to increase or decrease stock levels at a cost.
The following functions are available:
| Field | Description |
| Adjustment No | Adustment Number is system assigned. Refer to configuration: "Next Adjustment No" |
| Adjustment Date | This field is systematically updated. The system by default is set to the date that the adjustment was done. |
| Location | Refer to Location Maintenance |
| Document No | Document reference number |
| Reason | The Reason field is applicable to specify why an adjustment was done for the selected item/items. For example, if you reduce inventory as the result of physical inventory, you can use the reason to indicate that the items sustained water damage and had to be discarded. |
| Notes | Free text field to capture any additional information about the adjustment |
| Field | Description |
| Product | Select the code for the item you want to adjust |
| Direction |
Select the movement direction.
|
| Quantity | Enter the quantity for adjustment |
| Unit Cost | Enter the unit cost of the product. By default the products cost is loaded when the item is selected. |
| Field | Description |
| Lot Bin Items (Tab 1) | |
| Bin No | Select the bin from the list |
| Lot Serial | Enter the Lot Serial Number |
| Expiry Date | Enter the Expiry Date |
| Quantity | Enter the quantity for adjustment |
| Notes | Free text field to capture any additional information about the record |
| Auto Create Lot/Bin Items (Tab 2) | |
| Auto Create | Tick the box "Auto Create" to enable "Auto Create" options |
| Quantity | Enter the quantity for adjustment |
| Mask |
Enter a mask for the serial number. |
| Start Number | Starting number to generate the mask
from. For example, Mask: LB#### Start Number: 15. This will generate numbers as LB0015, LB0016, etc |
| Quantity Per Line |
Quantities per line |
| Bin No | Select the bin from the list |
| Expiry Date | Enter the Expiry Date |
| Notes | Free text field to capture any additional information about the record |
| Field | Description |
| Matrix Row / Column | Automatically populated to form a matrix of rows and columns for the item |
| Bin No | Bin Number for the item |
| Available | Available stock for the item in this row/column/bin |
| Adj In | Displays the quantity for adjustment In |
| Adj Out | Displays the quantity for adjustment Out |
| Quantity | Enter the quantity for adjustment |