-
Click on the "Green Plus Sign". This will open the
"Edit Form".
-
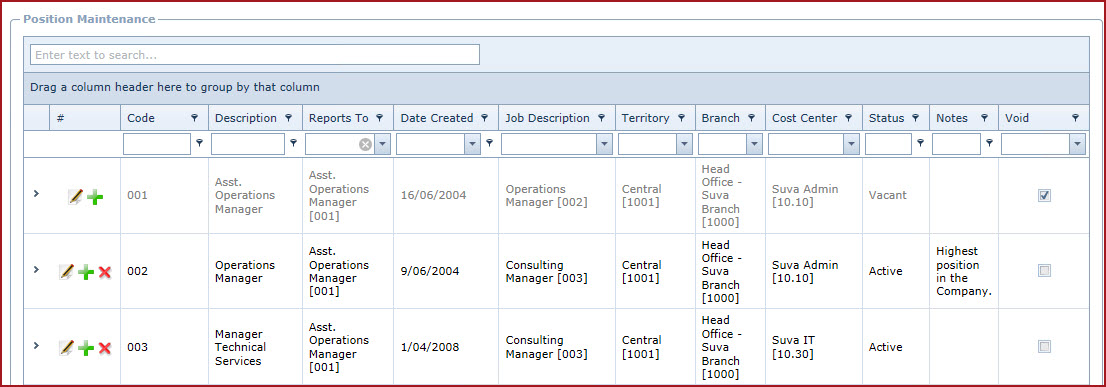
Enter the "Code" and "Description" for the
Position.
-
"Code" is a unique
alphanumeric code to uniquely identify each record.
-
Select the employee who will oversee
operations for the position.
-
Enter the date the position was
created.
-
-
-
Territory, Branch and Cost Centre are
unique for a position. For example,
-
Position "P1001 - Accounts Officer" was
created with Cost Centre as "Central".
-
After 6 months the position was made vacant in
the central office and was approved for the "Northern" office. Users
need to create a new position code with cost centre as
"Northern".
-
Editing the
cost centre for "P1001 - Accounts Officer " will change the cost
centre in current and history records where it was used.
-
Enter "Notes" to add
additional information.
-
Save.
-
Use the "Pencil" icon to edit
details.
-
Use the "Red X" to "Void" a
record.
-
Void records will be "Disabled" and
will not appear in any lookups .
-
Edit the record and "Un-tick" void to activate a
record.
-
Expand into the details to add "Additional
Information " for
the position.
-
Expand into the details to add the "Assessment
Criteria " for
the position.
-
-
Enter the expected score for
the "Skill"
-
Save.
-
Expand into the details to add the "Requirement
Criteria " for
the position.
-
Enter the
"Description".
-
Enter the expected score for
the "Requirement".
-
Expand into the details to add the "Point
Items " for
the position.
-
-
Enter the start date from which the point item will be allocated to
the employees.
-
Enter the end date for the
point item.
-
Select the "Frequency" for the point item.
Frequency determines how often the point item is allocated to
the employee.
-
Enter "Notes" to add
additional information.
-
Save.
-
Expand into the details
to add "Notes" and " Attachments
".